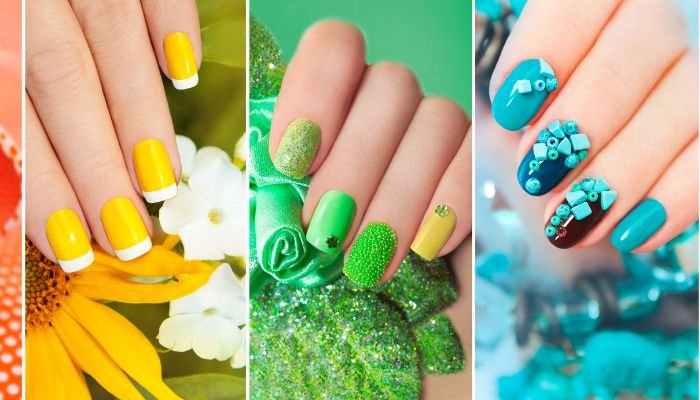
If you are looking for a way to spice up your manicure with some chic and textured designs, you might want to try coquette nails. Coquette nails, also known as 3D or textured nails, are a trendy and innovative nail art style that adds depth and dimension to your nails. They can be created with various materials, such as beads, pearls, gems, studs, sequins, lace, ribbons, bows, flowers, and more. You can also mix and match different colors, patterns, and shapes to create your unique coquette nails.
In this article, we have curated 20+ best coquette nail designs that can inspire you to try this fun and flirty nail trend. Whether you prefer something simple and elegant, or something bold and playful, you will find a coquette nail design that suits your personality and style. Let’s take a look at these amazing coquette nail ideas and get ready to elevate your nail game!
List of tools and materials to create coquette nail design
Here is a list of tools and materials that you will need to create coquette nails:
- Nail cutter: To trim and shape your nails to your desired length and style. You can choose from different nail shapes, such as almond, oval, or coffin, depending on your preference and the amount of space you want to work with.
- Cuticle pusher: To gently push back your cuticles and create a clean and smooth surface for your nail polish and 3D elements.
- Cuticle nipper: To carefully remove any excess or dead skin around your nails and prevent infections or hangnails.
- Nail buffer: To smooth out any ridges or bumps on your nails and create a shiny and even base for your nail polish and 3D elements.
- Nail file: To file and shape the edges of your nails and prevent them from splitting or snagging.
- A pumice stone or foot file: To exfoliate and remove any calluses or rough skin on your feet, especially if you are doing a pedicure.
- Nail brush: To clean and scrub your nails and remove any dirt or residue from your nail polish remover or other products.
- Toe separator: To keep your toes apart and prevent your nail polish from smudging or transferring when you are doing a pedicure.
- Orangewood stick: To apply and adjust the 3D or textured elements on your nails with precision and ease. You can also use a pair of tweezers for this purpose.
- Mild scrub: To gently exfoliate and moisturize your hands and feet and make them soft and smooth.
- Base coat: To protect your nails from staining and chipping and make your nail polish last longer.
- Nail polish: To color your nails with your chosen shade or shades. You can use any color you like, but some popular choices for coquette nails are pastel, nude, or metallic shades.
- Top coat: To seal and protect your nail polish and 3D elements and make them last longer and look shinier.
- Nail glue: To attach the 3D or textured elements to your nails securely and firmly. You can also use clear nail polish for this purpose, but it may not be as strong or durable as nail glue.
- 3D or textured elements: To decorate your nails with various materials, such as beads, pearls, gems, studs, sequins, lace, ribbons, bows, flowers, and more. You can find these items at your local beauty supply store or online.
Now that you have all the tools and materials ready, here are the steps to follow to create your coquette nails:
- Prepare your nails and tools. Before you start applying your coquette nails, make sure your nails are clean, dry, and filed. Trim and shape your nails with a nail cutter and a nail file. Push back and trim your cuticles with a cuticle pusher and a cuticle nipper. Buff your nails with a nail buffer to smooth out any ridges or bumps. Clean your nails with a nail brush and some soap and water. If you are doing a pedicure, soak your feet in warm water and scrub them with a pumice stone or a foot file to remove any calluses or rough skin. Exfoliate and moisturize your hands and feet with a mild scrub and a lotion. Gather all the tools and materials that you will need and arrange them on a clean and flat surface.
- Apply the base coat and the nail polish. Start by applying a thin layer of base coat to your nails and let it dry completely. This will help protect your nails and make the nail polish last longer. Then, apply one or two coats of your chosen nail polish color and let it dry completely as well. You can use any color you like, but some popular choices for coquette nails are pastel, nude, or metallic shades. You can also create different patterns or designs with your nail polish, such as French tips, ombre, gradient, or polka dots.
- Apply the 3D or textured elements. This is the fun part where you can unleash your creativity and personalize your coquette nails. Using nail glue and an orangewood stick or a pair of tweezers, carefully pick up and place the 3D or textured elements on your nails. You can follow a pattern, a theme, or a random arrangement, depending on your preference. You can also mix and match different elements, such as pearls and lace, or bows and flowers. Just make sure you don’t overcrowd your nails or make them too heavy. Leave some space between the elements and the edges of your nails for a neater look.
- Apply the top coat. Once you are happy with your coquette nails design, apply a generous layer of top coat over your nails and let it dry completely. This will help seal and protect your coquette nails and make them last longer. You can also reapply the top coat every few days to keep your nails shiny and prevent the elements from falling off.
Here are some tips to help you apply and maintain coquette nails
Coquette nails are a type of nail art that involves adding 3D or textured elements to your nails, such as beads, pearls, gems, studs, sequins, lace, ribbons, bows, flowers, and more. They can create a chic and playful look for your nails, but they also require some extra care and attention. Here are some tips to help you apply and maintain your coquette nails:
- Choose the right nail shape and length. Coquette nails tend to look better on longer and more rounded nails, such as almond, oval, or coffin shapes. This gives you more space to work with and creates a more elegant and feminine appearance. However, you can also try coquette nails on shorter or square nails if you prefer, as long as you keep the design simple and balanced.
- Prepare your nails and tools. Before you start applying your coquette nails, make sure your nails are clean, dry, and filed. You will also need some tools and materials, such as a base coat, a top coat, a nail polish color of your choice, a nail glue, a pair of tweezers, and the 3D or textured elements you want to use. You can find these items at your local beauty supply store or online.
- Apply the base coat and the nail polish. Start by applying a thin layer of base coat to your nails and let it dry completely. This will help protect your nails and make the nail polish last longer. Then, apply one or two coats of your chosen nail polish color and let it dry completely as well. You can use any color you like, but some popular choices for coquette nails are pastel, nude, or metallic shades.
- Apply the 3D or textured elements. This is the fun part where you can unleash your creativity and personalize your coquette nails. Using nail glue and a pair of tweezers, carefully pick up and place the 3D or textured elements on your nails. You can follow a pattern, a theme, or a random arrangement, depending on your preference. You can also mix and match different elements, such as pearls and lace, or bows and flowers. Just make sure you don’t overcrowd your nails or make them too heavy. Leave some space between the elements and the edges of your nails for a neater look.
- Apply the top coat. Once you are happy with your coquette nails design, apply a generous layer of top coat over your nails and let it dry completely. This will help seal and protect your coquette nails and make them last longer. You can also reapply the top coat every few days to keep your nails shiny and prevent the elements from falling off.
Okay, let’s dive into it…
1. Pink French Tips with 3D Elements and Charms

2. Pink and blue pastel coquette nails

3. Pink and white hearts long coquette nails
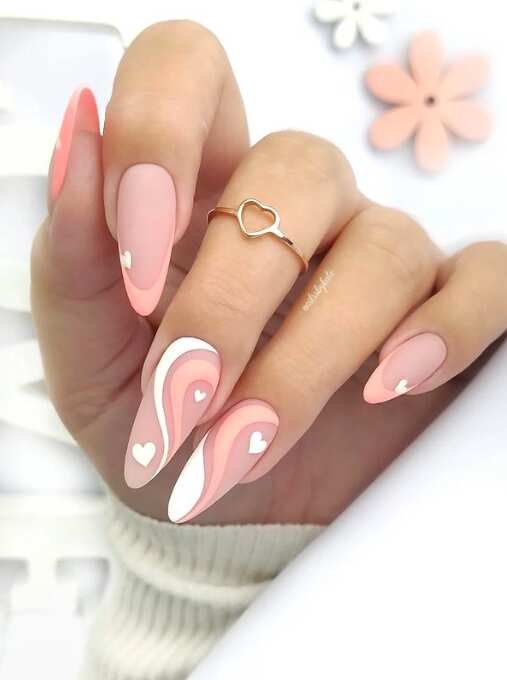
4. Pink stiletto coquette nails

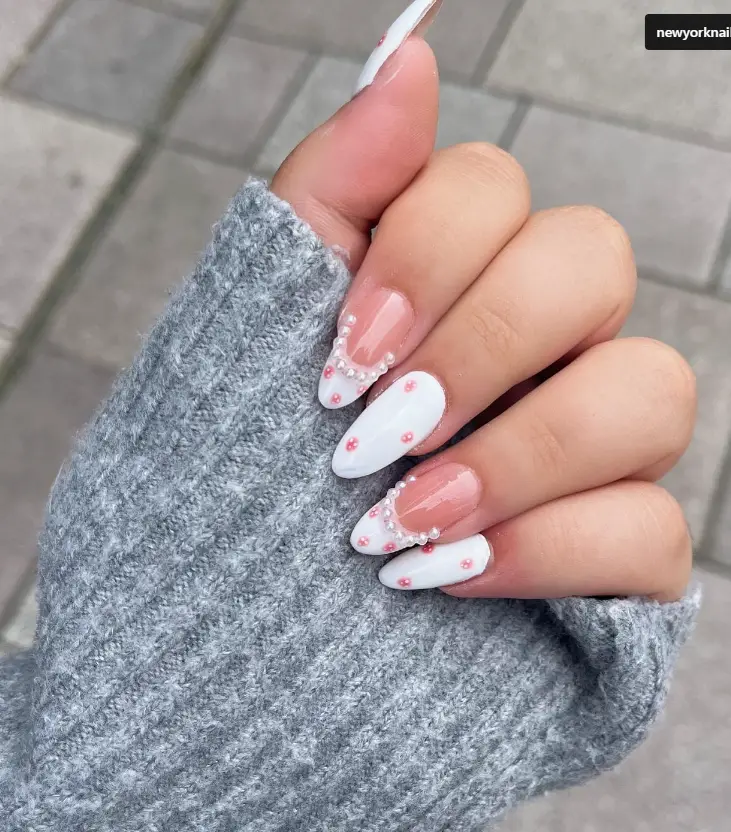
5. White Nails with Pink and White Pearl Accents
6. Soft Glam

7. Feminine Glam

8. Pink and white French tip coquette nails
9. Stiletto valentines Day flower nails

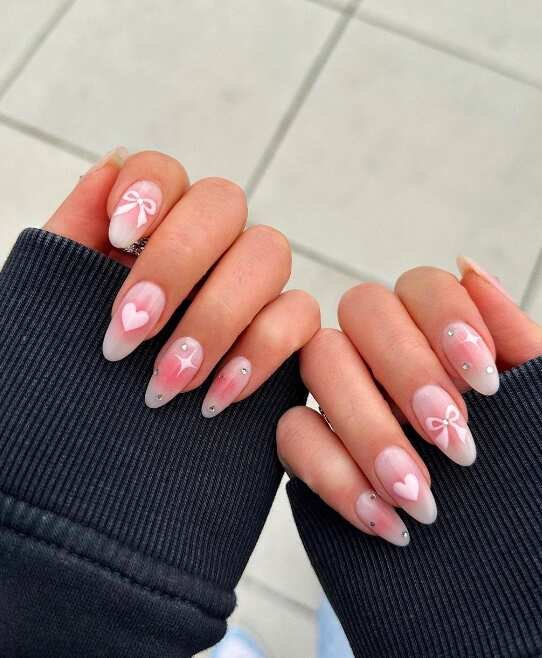
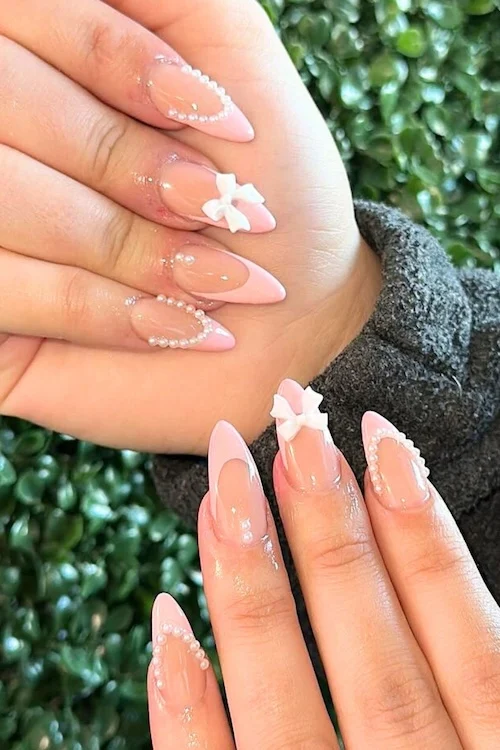
10. Light Pink Nails With Bows and Pearls

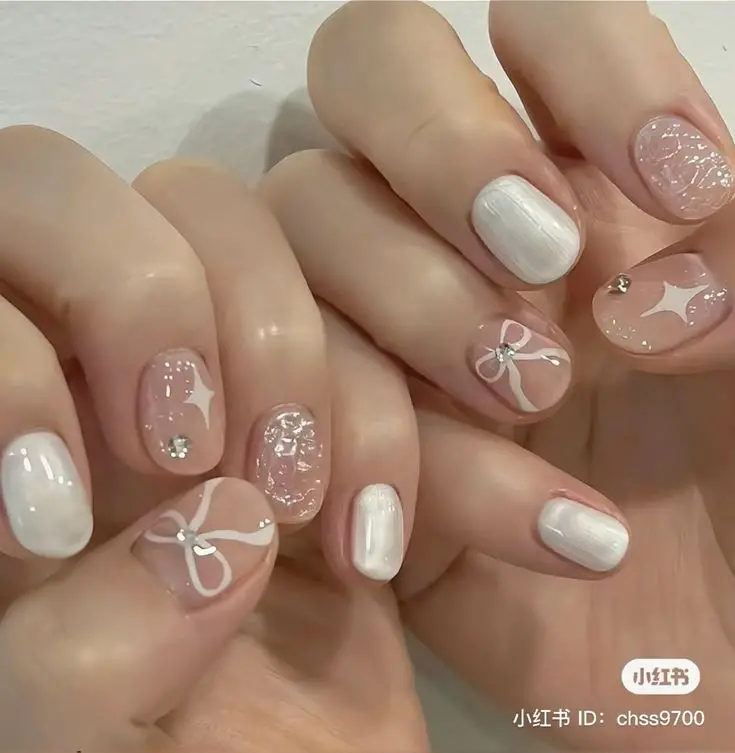
11. White and Nude with 3D, Rhinestones and Bow Accent Nails
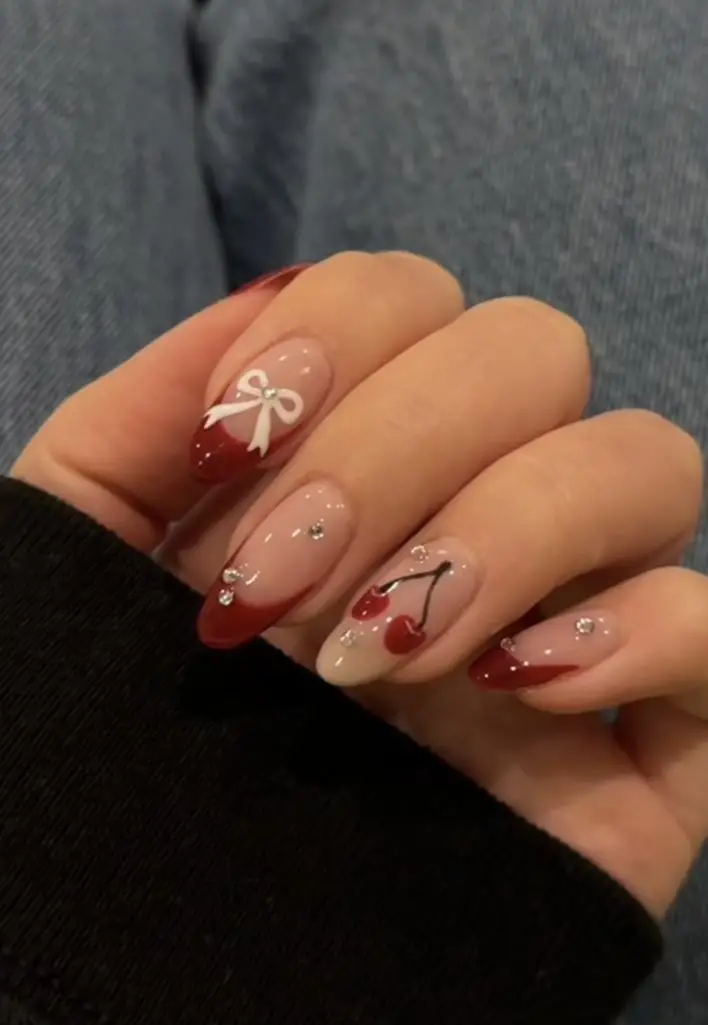
12. Red French Tip with Bows, Cherries, and Rhinestones
13. Pink square coquette nails

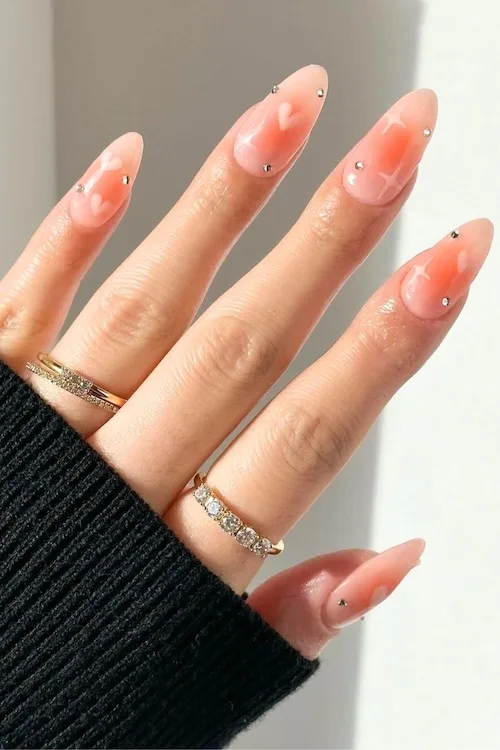
14. Nude coquette nails

15. Coquette nail design (@heluviee)
16. Bow-tiful Blush

17. Sparkling Frost

18. Sweetheart Swirls

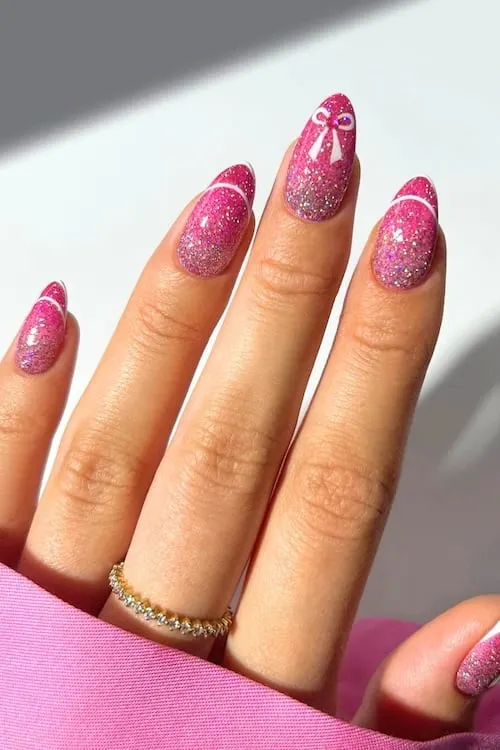
19. Glittering Glamour
20. Golden Hearted

21. Pearly Pink Charm
22. Blushing Love
23. Red Mani & Pink Bows

Conclusion
You have just seen 20+ best coquette nail designs that can inspire you to try this trendy and innovative nail art style. Coquette nails are a great way to add some chic and textured flair to your manicure, and they are not as hard to create as they look. With some basic tools and materials, and a bit of creativity and patience, you can achieve stunning coquette nails that will make you stand out from the crowd.
Whether you choose to go for something simple and elegant, or something bold and playful, you can find a coquette nail design that matches your personality and style. You can also experiment with different colors, patterns, and shapes, and mix and match different 3D or textured elements to create your unique coquette nails.
We hope you enjoyed this article and found some coquette nail ideas that you love. If you did, please share it with your friends and let us know what you think in the comments below. Don’t forget to follow our tips on how to apply and maintain your coquette nails, so they can last longer and look better.