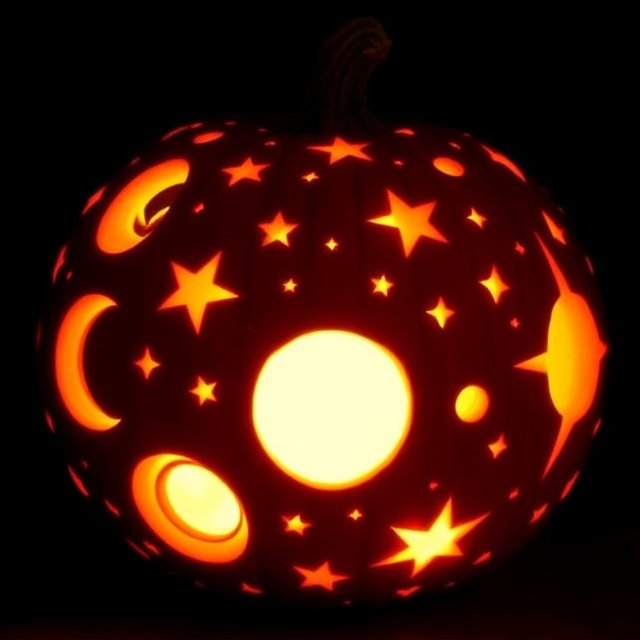
1. Celestial Pumpkin –
Instructions: Draw a mix of stars, crescent moons, and planets all around your pumpkin. You can use different sizes for variety. Once you’ve sketched the design, carve out the shapes to allow light to shine through. For added effect, drill small holes around the stars to mimic a starry sky. Place a blue or white LED light inside for a soft, ethereal glow.
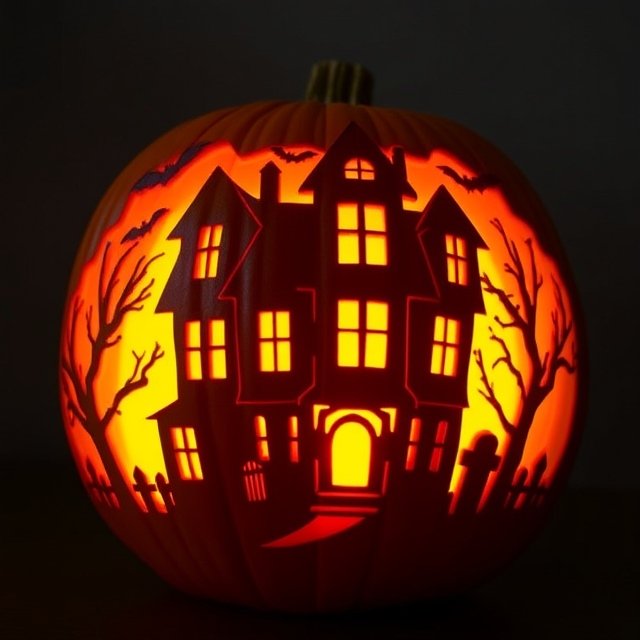
2. Haunted House Silhouette –
Instructions: Start by drawing a haunted house with pointed roofs and tall windows. Add silhouettes of trees, bats, and tombstones around the house. Carefully carve out the shapes, leaving the main building structure so it’s silhouetted against the light. A yellow or red LED inside gives it a chilling effect.
Test & Keep a DeWalt Set Halloween Edition (Offer is Valid in USA)

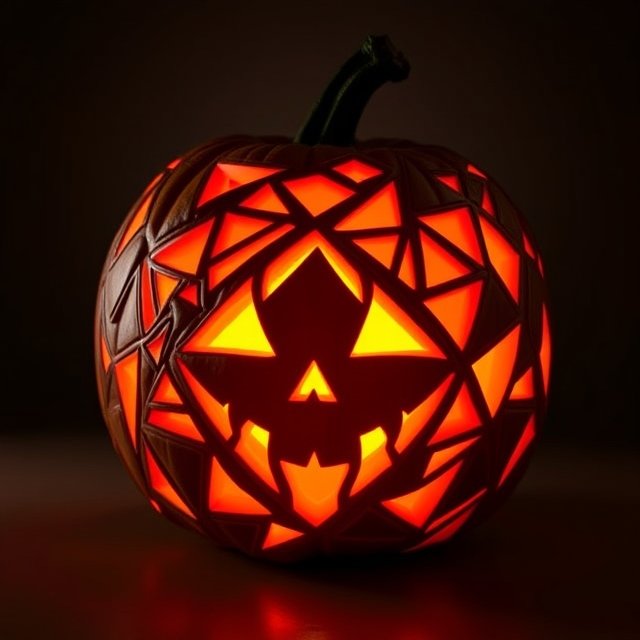
3. Mosaic Pumpkin
Instructions: Use a ruler to trace geometric shapes (triangles, squares, and diamonds) around the pumpkin. When you carve them, leave spaces between the shapes to create a mosaic effect. Try using different carving depths to make some shapes brighter than others. This adds dimension and makes the pumpkin look like a piece of contemporary art.
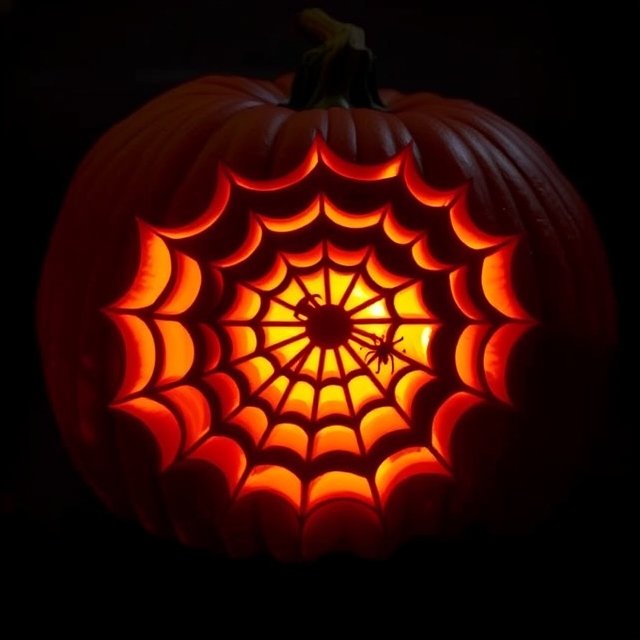
4. Spider Web Pumpkin –
Instructions: Start by drawing a spider web pattern on one side of the pumpkin, making sure the lines radiate from a central point. Add a small spider hanging from one part of the web. Carve along the lines, and then carefully cut out small portions of the webbing. This detailed look works best with a sharp knife or pumpkin carving tool set.
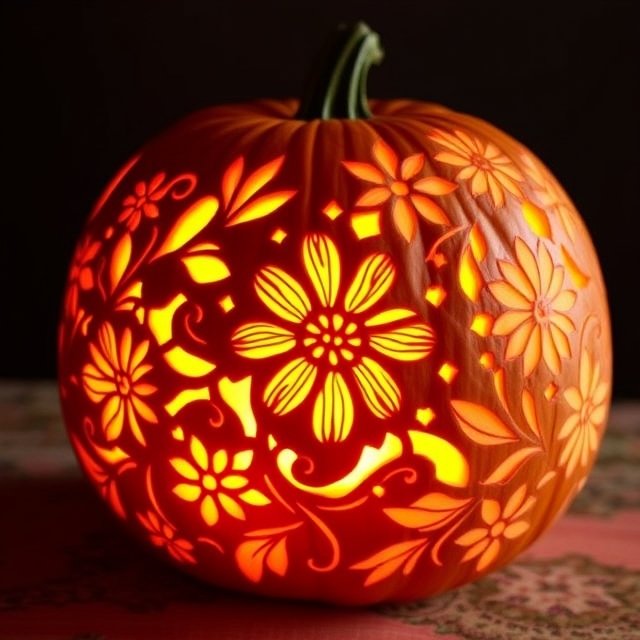
5. Floral Lace Pumpkin –
Instructions: Use a stencil or freehand floral and lace patterns around the pumpkin. Focus on intricate petal and vine designs, which can be challenging but will look beautiful. Avoid fully cutting through the pumpkin; instead, scrape the surface so that the design glows subtly when lit.
$1000 PayPal Prepaid Card Halloween (USA ONLY)

6. Pirate Skull Pumpkin –
Instructions: Draw a large skull outline with one eye socket larger than the other for a pirate look. Add a bandana, an eyepatch, and some “missing teeth” for character. If you want, carve a parrot silhouette on the side. Add a flickering candle inside to bring the pirate to life!

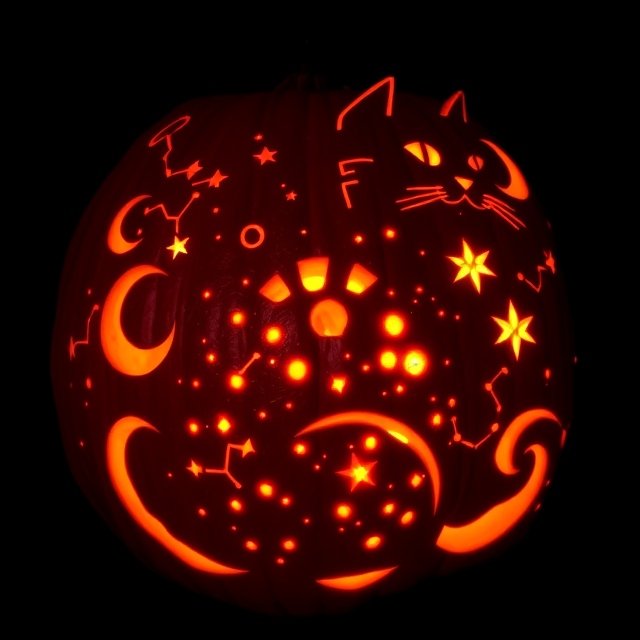
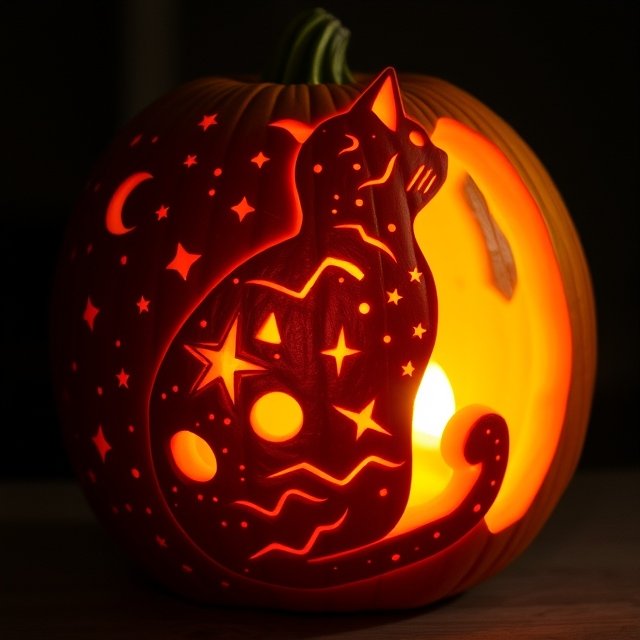
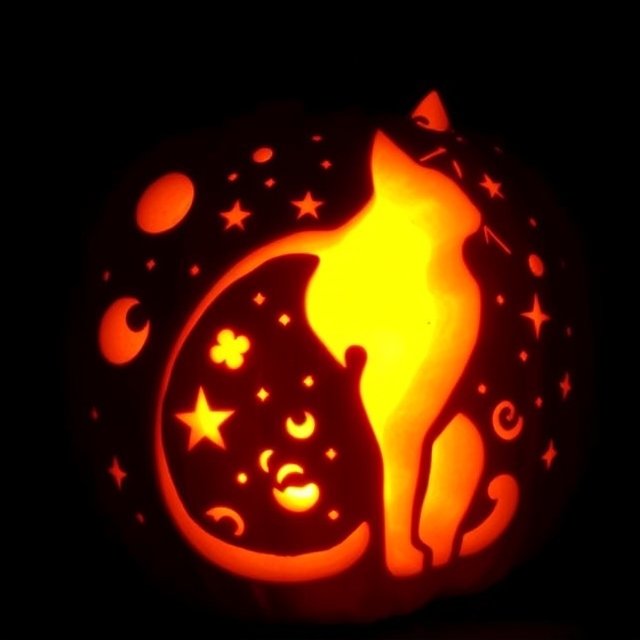
7. Galaxy Cat Pumpkin –
Instructions: Carve a mystical-looking cat with its back arched. Surround it with small stars, crescent moons, and galaxy-inspired swirls. For an extra touch, add tiny “constellations” by drilling small holes in the shape of constellations around the cat.
8. Creepy Eyeball Pumpkin –
Carve the pumpkin into a giant eyeball with veins and an eerie pupil staring outward.

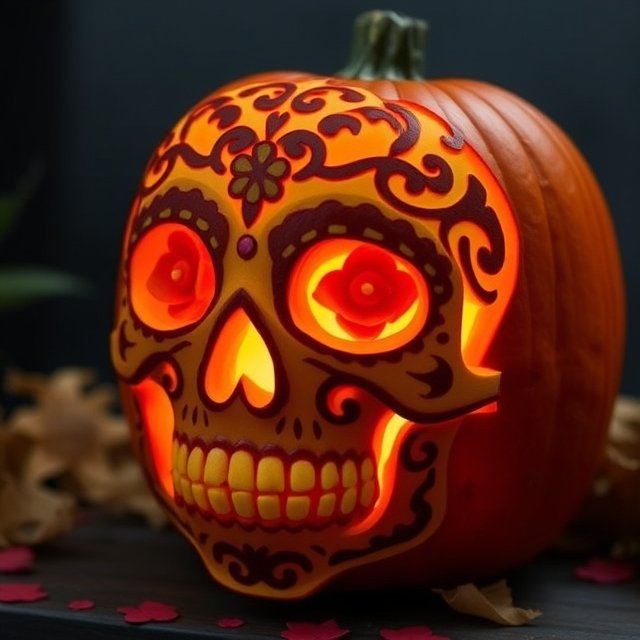
9.Day of the Dead Skull Pumpkin –
Instructions: Carve the pumpkin to look like a sugar skull with intricate details, such as flowers for the eyes and patterns on the forehead and cheeks. You can paint some areas to add colorful accents that mimic traditional Day of the Dead decor.
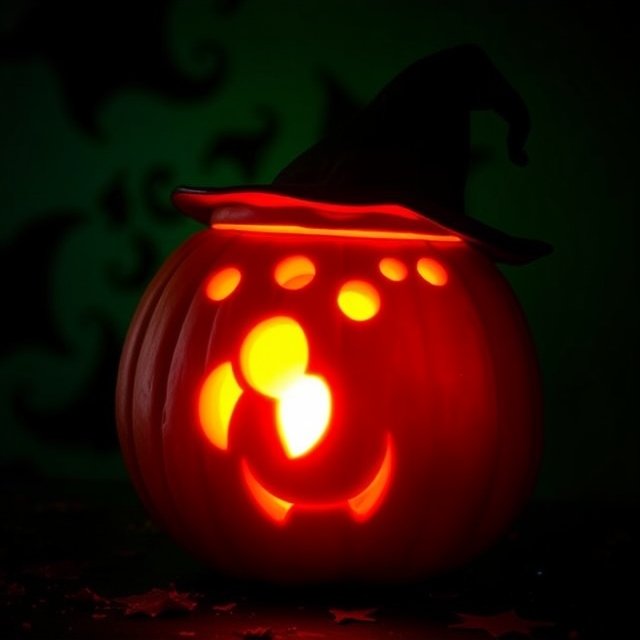
10. Witch’s Cauldron Pumpkin
Instructions: Draw a cauldron shape on the pumpkin’s front and carve it out, then add small “bubbles” above it by carving circular shapes. You could even add a ladle shape dipping into the cauldron. Use a green light to mimic the glow of a witch’s brew.
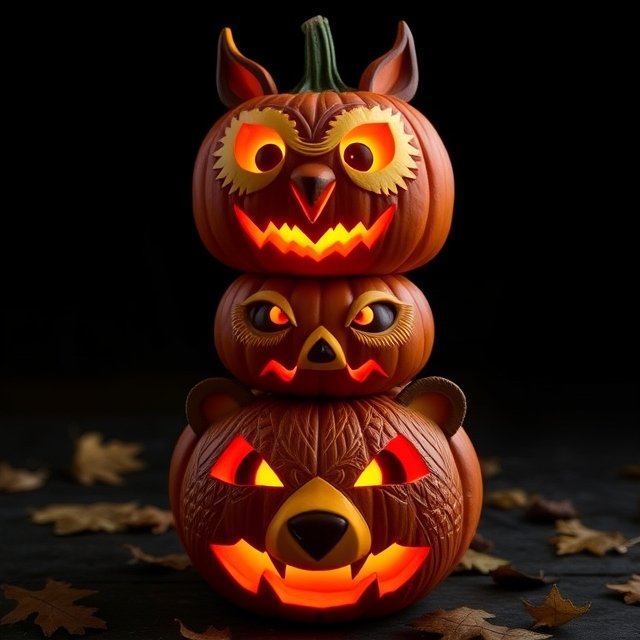
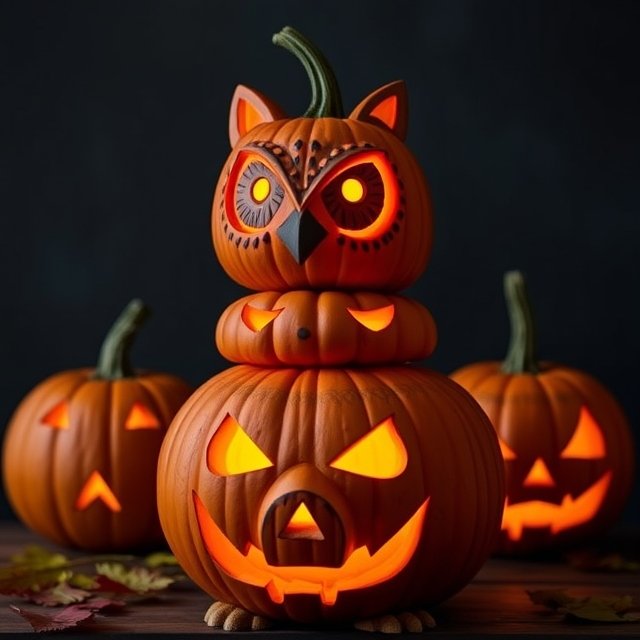
11. Animal Totem Pumpkin –
Instructions: Stack two or three pumpkins. Carve a different animal face into each one (e.g., an owl, fox, and bear). You can paint each pumpkin to add features or enhance the carved faces. Stack them up in order for a totem effect.
Win a $1000 CashApp gift card (Offer is Valid in USA)

12. Stitched Pumpkin –
Instructions: Carve “seam” lines around the pumpkin as if it’s been stitched together Frankenstein-style. You can add metal wire or twine into the lines to make the stitches look realistic. This can be done all around the pumpkin or just on one side for a spookier effect.

13. Mad Scientist Pumpkin
Instructions: Draw a wild-eyed face with exaggerated glasses and a big, toothy grin. Carve wild hair around the face to complete the look of a mad scientist. Use white and blue LEDs for a “laboratory” glow from inside.

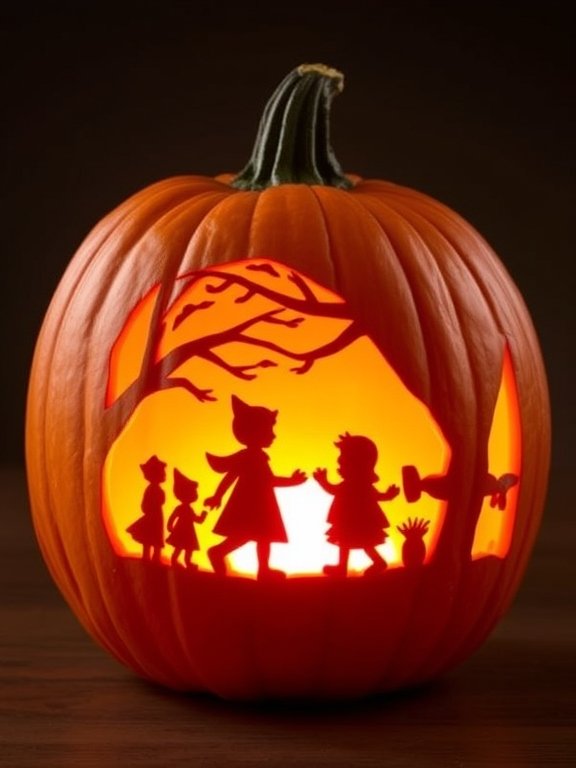
14. Storybook Silhouette Pumpkin
Instructions: Carve silhouettes of scenes from classic stories like Little Red Riding Hood, Cinderella, or Jack and the Beanstalk. Keep the design simple, carving only the outlines of key figures. When lit from within, it will look like a storybook scene brought to life.
win a $1000 Walmart gift card (Offer is Valid in USA)

15. House with Windows Pumpkin
Instructions: Carve small, square “windows” and a door into the pumpkin to make it resemble a tiny house. Add details like small rectangles for shutters or a chimney. Use a flickering candle to create the effect of a cozy glow from within.

16. Tree with Bats Pumpkin
Instructions: Carve a large, twisted tree with bare branches that spread across the pumpkin’s face. Add bats flying around the tree. This classic Halloween design works best when each bat is partially carved out, allowing for light and shadows to create depth.

$500 Chocolate Hamper Halloween (Offer is Valid in USA)

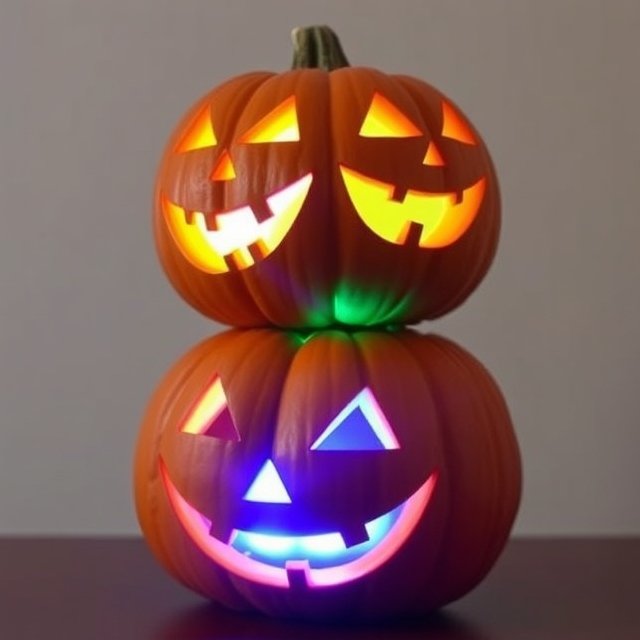
17. Jack-o’-Lantern Stack Pumpkin
Instructions: Stack two or three pumpkins and carve different expressions on each one. Try a mix of happy, angry, and silly faces for a dynamic, layered effect. Light each pumpkin with a different colored light if possible for added contrast.
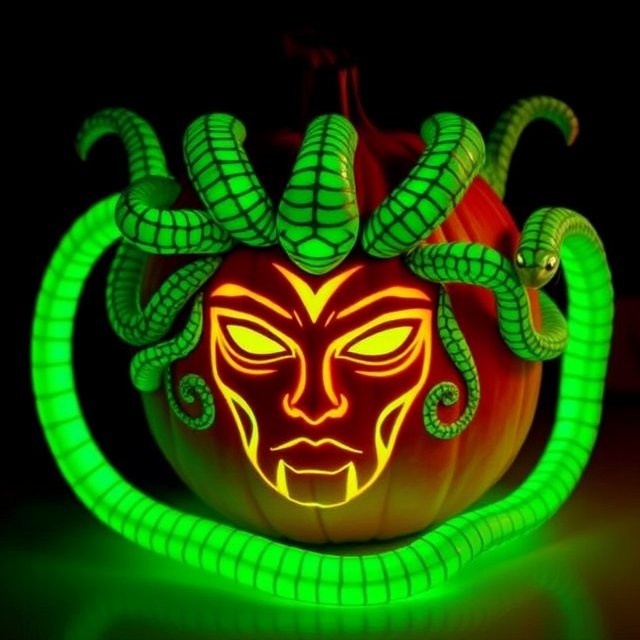
18. Medusa Pumpkin
Instructions: Carve a face on the pumpkin and add “snake” shapes around the head to represent Medusa’s serpentine hair. You can paint or carve scales and add eyes to the snakes for detail. Use a green light for an eerie, otherworldly glow.
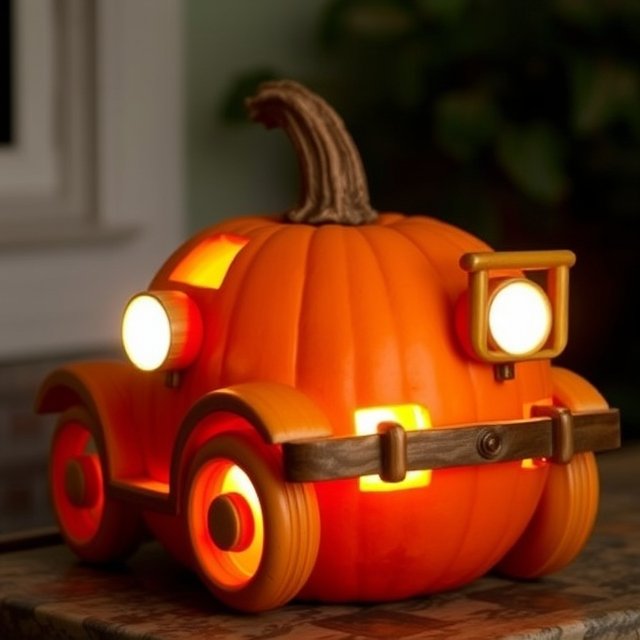
19. Vintage Pumpkin Car
Instructions: Carve the pumpkin to look like an old-fashioned car with headlights, windows, and wheels. Use smaller pumpkins or gourds for the wheels. Add lights inside the “headlights” to mimic an actual car’s lights, giving it a whimsical touch.
I hope you’ll find some awesome pumpkin carving ideas for Halloween