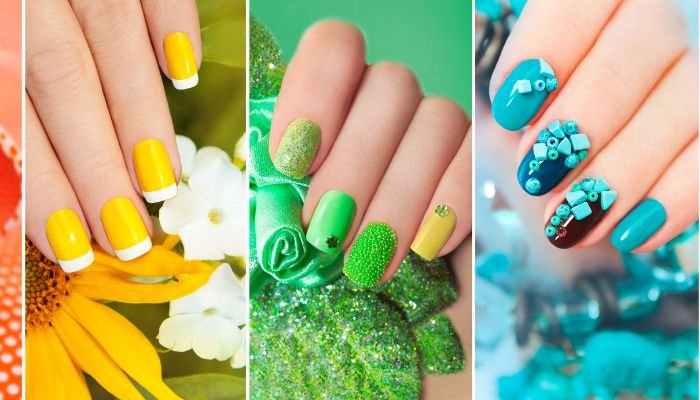
Your toes deserve a vacation too, right? Elevate your pedicure game this summer with these on-trend styles that are sure to turn heads:
Matte Grey Elegance:
This understated hue is surprisingly versatile.
DIY: Apply a matte grey polish, let it dry completely, then seal it with a matte top coat for that velvety finish. Add a tiny dried flower or decal to the base of your big toe for a touch of whimsy.

Sparkling Pink Sugar Crush:
Channel your inner mermaid with this glittery, textured pink.
DIY: After your base coat, apply two coats of pink sugar effect polish. While the second coat is still wet, sprinkle on extra glitter if you’re feeling extra glam. Seal it all in with a glossy top coat.


Soft Pink Simplicity:
Clean, classic, and always chic.
DIY: This one’s all about the gel. After curing your base coat, apply two coats of soft pink gel polish, curing each layer. Finish with a glossy top coat for that salon-worthy shine.


Lime Green Confetti Splash:
The pedicure equivalent of a pool party.
DIY: Two coats of lime green, then while it’s still tacky, go wild with the confetti glitter. A thick top coat seals it all in and smooths out any rough edges.


Chic Camouflage:
Who says camo can’t be cute?
DIY: Start with a mustard base, then use a thin brush to add patches of burnt sienna and navy. Blend the edges slightly for a natural look. A matte top coat amps up the cool factor.


Fresh Mint:
Cool, calm, and collected.
DIY: Follow the same gel polish steps as the soft pink, but swap in a gorgeous mint green shade.

Sleek Noir with Artistic Flair:
A little bit goth, a little bit glam.
DIY: After painting your toes black, let them dry completely. Then, with a steady hand and a silver nail art pen or polish, create your zebra stripes. A top coat protects your masterpiece.


Vivid Pink Leopard Print:
Unleash your inner wild child.
DIY: Two coats of hot pink, then use a black nail art pen or a dotting tool to create the leopard spots. Don’t worry about perfection—the more random, the better!


Marbled Elegance:
Channel your inner artist with this swirly masterpiece.
DIY: This one takes a bit of practice. Start with a white base, then use a thin brush to swirl in gold and grey polish. Let it dry, then seal it with a top coat.

Playful Pink with Glitter Accent:
Because who doesn’t love a little sparkle?
DIY: Neon pink on all toes except the big toe, which gets the full glitter treatment. Use multiple coats of glitter polish for maximum impact.


Classic Milky French Pedicure:
A modern twist on a timeless favourite.
DIY: Start with a milky pink base, then carefully paint bright pink tips. Use tape or stencils for a clean line.

Pure White Minimalism:
Simplicity at its finest.
DIY: Apply two to three coats of high-quality white polish for a crisp, opaque look.

Abstract Black with Matte Finish:
Edgy and artsy.
DIY: Matte black base, then get creative with white polish on your accent nail. There are no rules here!

Classic Red Sophistication:
Red is always a showstopper.
DIY: Two coats of glossy red polish, plus a top coat for extra shine and protection.

Delicate Floral on Pink Base:
Sweet and feminine.
DIY: After painting your nails soft pink, use a dotting tool or a thin brush to create dainty white flowers.

Deep Forest Green:
A rich and earthy tone.
DIY: Two coats of matte forest green polish, sealed with a matte top coat for that modern feel.


